
Table of Contents
- What Is Lorem Ipsum?
- The Latin Origin of Lorem Ipsum
- Why Lorem Ipsum Became the Standard Dummy Text
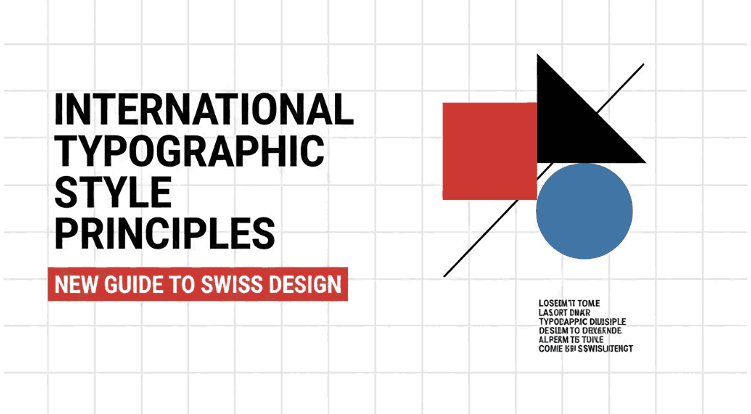
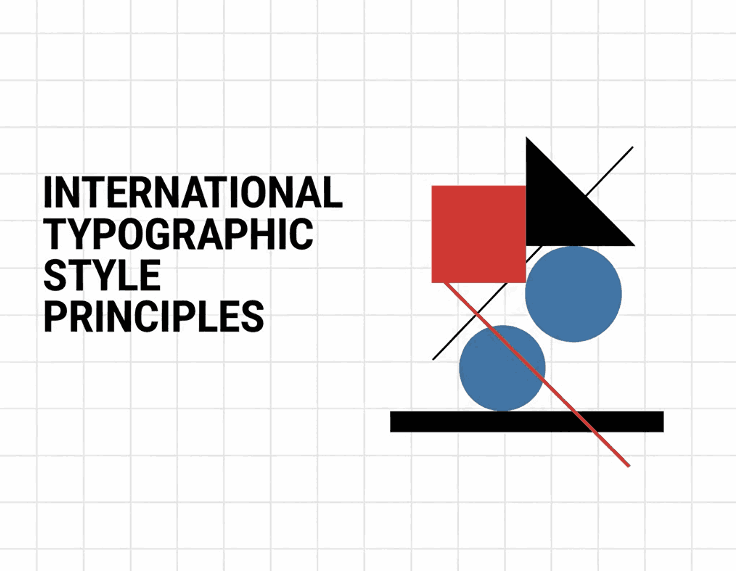
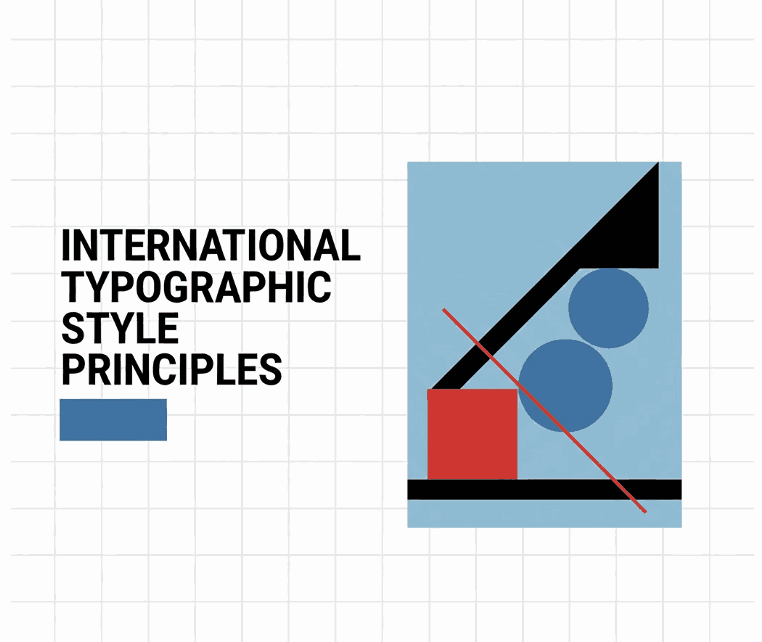
- Lorem Ipsum in Typography and Design
- Choosing the Right Font for Lorem Ipsum Mockups
- Font Mockup Examples from CalligraphyFonts.net
- Is Lorem Ipsum Still Relevant Today?
- Final Thoughts
1. What Is Lorem Ipsum Latin Origin?
Lorem Ipsum Latin Origin is a placeholder or dummy text commonly used in design layouts to simulate real content. Its primary purpose is to allow designers and clients to focus on visual structure, typography, spacing, and hierarchy without being distracted by meaningful text.
Unlike random filler text, Lorem Ipsum resembles natural language, making layouts feel realistic while remaining neutral.
2. The Lorem Ipsum Latin Origin
Understanding the Lorem Ipsum Latin origin requires going back nearly 2,000 years.
The text originates from a work by the Roman philosopher Cicero, written in 45 BC, titled “De Finibus Bonorum et Malorum” (On the Ends of Good and Evil). The phrase “Lorem ipsum dolor sit amet” is derived from a scrambled section of this philosophical treatise.
Although the text has been altered and rearranged over time, its classical Latin roots give it a balanced rhythm and natural letter distribution—one of the reasons it works so well in typography testing.

3. Why Lorem Ipsum Latin Origin Became the Standard Dummy Text
Lorem Ipsum gained popularity in the printing industry during the 1500s, when typesetters needed sample text to demonstrate fonts and layouts. Its advantages include:
- It looks like readable text without conveying meaning
- It has a natural distribution of letters and word lengths
- It avoids reader distraction
- It works across languages and cultures
These qualities made Lorem Ipsum ideal for showcasing typography—long before digital design existed.
4. Lorem Ipsum Latin Origin in Typography and Design
In modern design, Lorem Ipsum plays a crucial role in:
- Web and UI mockups
- Editorial layouts
- Branding presentations
- Font previews and specimen sheets
Typography designers often use Lorem Ipsum to test:
- Readability
- Line spacing
- Kerning and tracking
- Font personality
Because of its Latin structure, Lorem Ipsum highlights the true characteristics of a typeface without semantic bias.
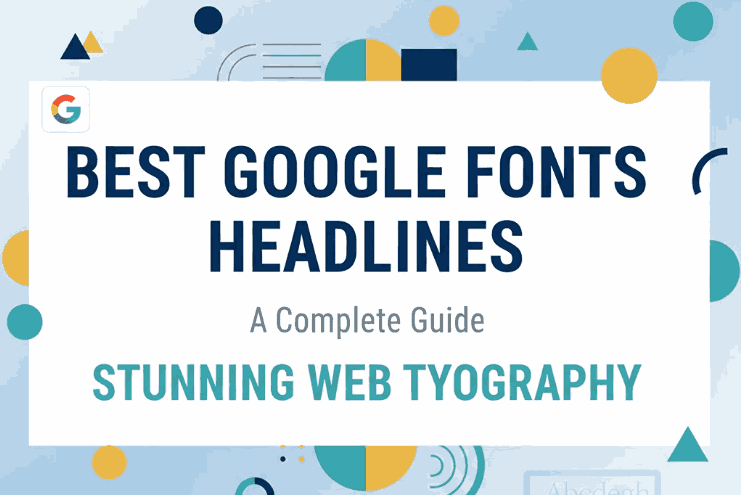
5. Choosing the Right Font for Lorem Ipsum Latin Origin Mockups
When presenting Lorem Ipsum, font choice matters more than many designers realize. The right typeface can:
- Enhance readability
- Reflect brand tone
- Demonstrate hierarchy clearly
- Elevate overall presentation
Using clean, well-designed fonts helps clients and audiences evaluate layouts objectively—just as Lorem Ipsum intends.

6. Font Mockup Examples from CalligraphyFonts.net
Here are excellent font choices from CalligraphyFonts.net that pair beautifully with Lorem Ipsum for mockups and typography demonstrations:
Ravenously Font
A modern sans serif font with strong structure and clarity—perfect for showcasing Lorem Ipsum in UI, web, and editorial layouts.
Healing Time Font
Minimal, professional, and highly readable. This font works exceptionally well for body text mockups using Lorem Ipsum.
Dreamy Lanie Font
A clean display sans serif that adds personality while maintaining readability—ideal for headlines and featured Lorem Ipsum samples.
Madame Grettha Font
An elegant serif font that complements the classical Latin roots of Lorem Ipsum, making it ideal for editorial and book-style layouts.
These fonts allow designers to demonstrate how different typographic styles influence perception—even when using the same placeholder text.
7. Is Lorem Ipsum Still Relevant Today?
Despite modern alternatives like real content previews or AI-generated text, Lorem Ipsum remains relevant because it:
- Preserves design neutrality
- Saves time during early design stages
- Works universally across industries
- Helps focus attention on layout and typography
Its historical legacy combined with modern usability ensures it remains a timeless design tool.
8. Final Thoughts
The Lorem Ipsum Latin origin connects modern design practices with ancient philosophy, making it one of the most fascinating tools in visual communication. More than just dummy text, Lorem Ipsum is a bridge between history, typography, and contemporary design workflows.
By pairing Lorem Ipsum with high-quality fonts from CalligraphyFonts.net, designers can create professional, realistic mockups that showcase typography at its best—without distraction.
References
- Wikipedia — Lorem ipsum
- Britannica — Lorem ipsum
- Prepressure — Lorem ipsum
- Din Studio — Introducing “Lorem Ipsum Dolor Sit Amet”